Getting started with Django on Heroku
This quickstart will get you going with a Python/Django application deployed to Heroku. It's my version of official Heroku tutorial.
Prerequisites
- The Heroku Toolbelt, as described in Getting Started with Python.
- Installed Python and Virtualenv in a unix-style environment. See this guide for guidance.
- A Heroku user account. Signup is free and instant.
Start a Django app inside a Virtualenv
First, we’ll create an empty top-level directory for our project:
$ mkdir hellodjango && cd hellodjangoNext, we’ll create a Python Virtualenv:
$ virtualenv venv
New python executable in venv/bin/python
Installing setuptools, pip...done.
To use the new virtualenv, we need to activate it. (You must source the virtualenv environment for each terminal session where you wish to run your app.)
$ source venv/bin/activateNext, install our application’s dependencies with pip. In this case, we will be installing django-toolbelt, which includes all of the packages we need:
- Django (the web framework)
- Gunicorn (WSGI server)
- dj-database-url (a Django configuration helper)
- dj-static (a Django static file server)
From your virtualenv:
$ pip install django-toolbelt
...
Installing collected packages: django-toolbelt, django, psycopg2, gunicorn, dj-database-url, dj-static, static3
  Running setup.py install for django-toolbelt
...
Successfully installed django-toolbelt django psycopg2 gunicorn dj-database-url dj-static static3
Cleaning up...
Now that we have a clean Python environment to work in, we’ll create our simple Django application.
django-admin.py startproject hellodjango .Declare process types with Procfile
Use a Procfile, a text file in the root directory of your application, to explicitly declare what command should be executed to start a web dyno. In this case, you need to execute Gunicorn with a few arguments. Here’s a Procfile for our new app. It should be called Procfile and live at the root directory of our project:
Procfile
web: gunicorn hellodjango.wsgi --log-file -Specify dependencies with Pip
Heroku recognizes Python applications by the existence of a requirements.txt file in the root of a repository. This simple format is used by most Python projects to specify the external Python modules the application requires. Pip has a nice command (pip freeze) that will generate this file for us:
$ pip freeze > requirements.txtDjango==1.7.1
argparse==1.2.1
dj-database-url==0.3.0
dj-static==0.0.6
django-toolbelt==0.0.1
gunicorn==19.1.1
psycopg2==2.5.4
static3==0.5.1
wsgiref==0.1.2Django settings
Next, configure the application for the Heroku environment, including Heroku’s Postgres database. The dj-database-url module will parse the value of the DATABASE_URL environment variable and convert them to something Django can understand.
settings.py
STATIC_ROOT = 'staticfiles'

STATICFILES_DIRS = (
    os.path.join(BASE_DIR, 'static'),
)

# Parse database configuration from $DATABASE_URL
import dj_database_url
DATABASES['default'] =  dj_database_url.config(
    default='sqlite:////{0}'.format(os.path.join(BASE_DIR, 'db.sqlite3'))
)

# Honor the 'X-Forwarded-Proto' header for request.is_secure()
SECURE_PROXY_SSL_HEADER = ('HTTP_X_FORWARDED_PROTO', 'https')

# Allow all host headers
ALLOWED_HOSTS = ['*']
$ mkdir static && touch static/.gitignoreWith these settings available, you can add the following code to wsgi.py to serve static files in production:
wsgi.py
from django.core.wsgi import get_wsgi_application
from dj_static import Cling

application = Cling(get_wsgi_application())
Store your app in Git
Now that we’ve written and tested our application, we need to store the project in a Git repository. Since our current directory contains a lof of extra files, we’ll want to configure our repository to ignore these files with a .gitignore file: GitHub provides an excellent Python gitignore file that can be installed system-wide.
.gitignore
venv
*.pyc
*.sqlite3
staticfiles
Next, we’ll create a new git repository and save our changes.
$ git init
Initialized empty Git repository in /Users/kreitz/hellodjango/.git/
$ git add .
$ git commit -m "my django app"
[master (root-commit) bdf5bc4] my django app
 11 files changed, 149 insertions(+)
 create mode 100644 .gitignore
 create mode 100644 Procfile
 create mode 100755 manage.py
 create mode 100644 myproject/__init__.py
 create mode 100644 myproject/settings.py
 create mode 100644 myproject/urls.py
 create mode 100644 myproject/wsgi.py
 create mode 100644 requirements.txt
Deploy to Heroku
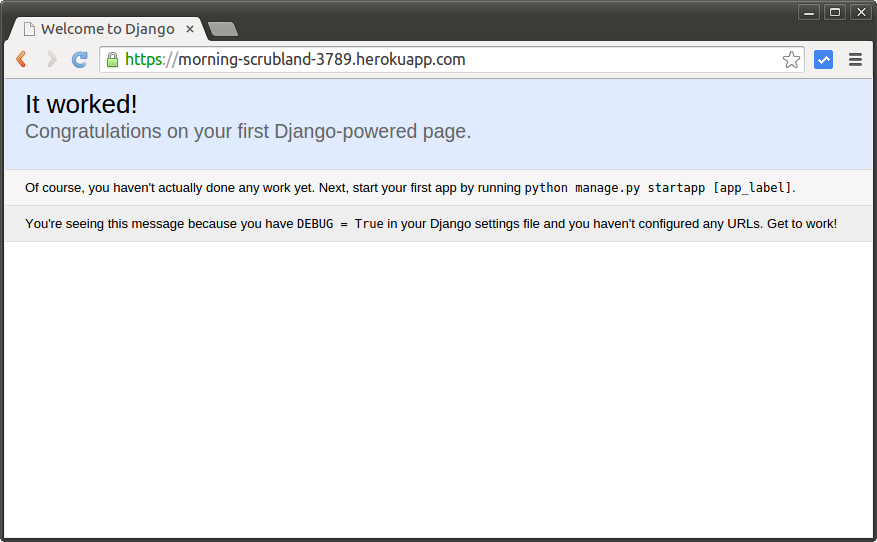
The next step is to push the application’s repository to Heroku. First, we have to get a place to push to from Heroku. We can do this with the heroku create command:
$ heroku create
Creating morning-scrubland-3789... done, stack is cedar
https://morning-scrubland-3789.herokuapp.com/ | git@heroku.com:morning-scrubland-3789.git
Git remote heroku added
This automatically added the Heroku remote for our app (git@heroku.com:simple-spring-9999.git) to our repository. Now we can do a simple git push to deploy our application:
$ git push heroku master
Initializing repository, done.
Counting objects: 22, done.
Delta compression using up to 4 threads.
Compressing objects: 100% (18/18), done.
Writing objects: 100% (22/22), 3.32 KiB | 0 bytes/s, done.
Total 22 (delta 6), reused 0 (delta 0)

...
         Running setup.py install for static3

           Installing static script to /app/.heroku/python/bin
       Successfully installed Django argparse dj-database-url dj-static django-toolbelt gunicorn psycopg2 static3
       Cleaning up...

-----> Preparing static assets
       Running collectstatic...
       61 static files copied to '/app/staticfiles'.

-----> Discovering process types
       Procfile declares types -> web

-----> Compressing... done, 35.4MB
-----> Launching... done, v5
       https://morning-scrubland-3789.herokuapp.com/ deployed to Heroku
Visit your application